
How to Build an Upholstered Canopy King Bed.

We are already onto week 4 of the One Room Challenge and I’ve entered woodworker mode. I am attempting to build a Pottery Barn Upholstered Canopy King Bed for my master bedroom Reno.

Be sure to click on over and see what the other One Room Challenge Guest Participants are up to on week 4 here.
To see the the other weeks progress:
Master Bedroom Mood Board & Plan Week 1
Installation of the Vertical Board & Batten Week 2
Painting of the trim ceiling Week 3
The Inspiration

I scoured the internet for WEEKS to try and find a similar bed within my budget for this challenge, and my mind kept coming back to this very bed and how I didn’t want to settle for anything but this bed.
Here are some of the other beautiful, but not quite what I wanted beds:
This post does contain affiliate links in which I will be compensated a small amount if you purchase through the link at no additional cost to you. Thank you for supporting Honey Built Home.


So alas, I went to Macbeaths Hardwood and bought some lumber to construct my own DIY version of the Canopy King Bed. So right now am hoping for the total cost to be around $450 compared to the original which is over $2000 (with S+H)
Buying Lumber
When purchasing lumber from a hardwood store be sure to ask if they are able to joint and plane your wood for you. Preparing your lumber is a very time consuming process and for $25 I was able to get both sides of my wood planed and one clean joint (edge). So from there I could cut my wood at home. I could have had MacBeaths cut all of my pieces but with each change in measurement they charge $15 so I opted to cut it myself.

Total cost for lumber: $310
My cost could have been cheaper but you have to buy the entire length board unless your cuts will leave the store with a 6′ or longer board. Since my posts are 93″ I couldn’t leave a long enough board so I have an extra 4′ of scrap wood.
Know all of your measurements and dimensions before going and selecting your wood and always add a little extra just in case you cut a board incorrectly.
Wood comes in 3 different thicknesses at the lumber yard. so I had to select boards that were the correct thickness, then wide enough for my posts.
You can see in the image above I have 2 pieces of 2″ thick wood. I created all 8 of my bed posts were cut down from those two pieces.
The top pieces of wood that is “medium” thickness was 1″ and used to do all of the framing around the upholstery.
The two long left thinest pieces were 1/2″ and used for my side rails.
It’s slightly shocking, I know. In short an entire king bed frame can be made from 5 pieces of wood.
(plus some plywood for the head and foot board and a couple support pieces to hold up the box spring).
Plane and Joint
Planing the wood removes the top and bottom surfaces so its smooth and straight.
Jointing of wood means the edges of the board are trimmed down and straight. This helps when you are building furniture like a table top and aligns all the boards up so there’s no wave or warping.
Tutorial: How to Build an Upholstered King Canopy Bed
Be sure to watch the video and check out @honeybuilthome highlight bubble PB Bed Dupe for all the behind the scenes.

Cut List:
I am going to list the actual dimensions since I bought Ash lumber and ripped it down on a table saw. You could choose to buy existing wood precut and use the nominal measurements.

Framed Upholstered Headboard & Footboard: Canopy King Bed

I used MDF but I would recommend getting regular plywood as the MDF is very hard to screw/nail into.
To upholster the plywood I used a combination of quilt batting that came in a sheet. And curtains in place of regular cut fabric, and a foam mattress pad.
The whole process is showcased on the video above. First, I cut the foam mattress pad to the size of the wood (no overhang). After I cut the quilt batting a few inches larger so it could wrap around on all sides. Finally I wrapped the fabric tightly wrapped everything. And attached it to the plywood back side using a heavy duty stapler.


Assemble the Footboard

Attach the wood trim using MDF 1″ screws directly into the 1/2 plywood.
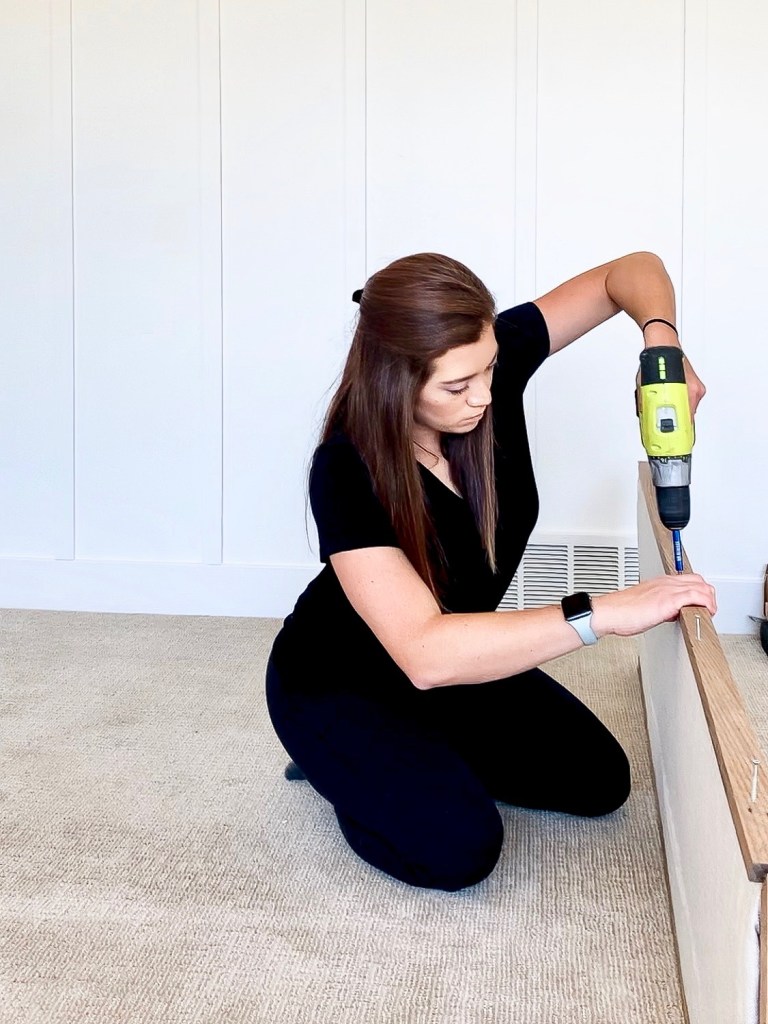


Side Rails
Each siderail is composed of three pieces of wood. The top piece which creates the illusion that the side rail is thick. The second piece is 7.5″ tall to conceal the box spring behind. The 3rd piece helps hold up the support rails that the box spring sits on top of.
First attach the top piece 1×2″ to the long side pieces. Create an L shape using wood glue and finishing nails.
Next counter sink some screw holes into the 2×2 support piece. And attach it to the 7.5″ side board using 1″ pocket screws and wood glue.

Fill any nail holes as well as the seam. Between the top 1×2 and the long side panel to create the illusion is it all one piece. After that sand down, stain, and set aside until the bed is ready to be assembled.
Assemble the Canopy King Bed

Attach the side slats to the footer and header using these brackets. Line up the outer edge of each post with the side slat so they sit flush. Attach each end with screws. This makes assembling & disassembling the bed quick and easy and (as least for me) I have no issues with squeaking.

Bed Support
The bed support is made up of several 1×3″ boards laying from one side rail lip to the other and are attached with a 1″ wood screw.
The middle section is composed of x2 9″ legs stained the same as the posts and a 2x2x80″ post.

Assembly Video:
xo- Christine


Wow, this will be gorgeous! Looking forward to seeing the final result.