


There are a few different brands but all come in a powder consistency.
Here are the products I suggest using: (click on image for link to product)
LevelQuik RS Self-Leveling Underlayment
LevelQuick Acrylic Primer
1/4″ V-Notched Trowel
5 Gallon Bucket
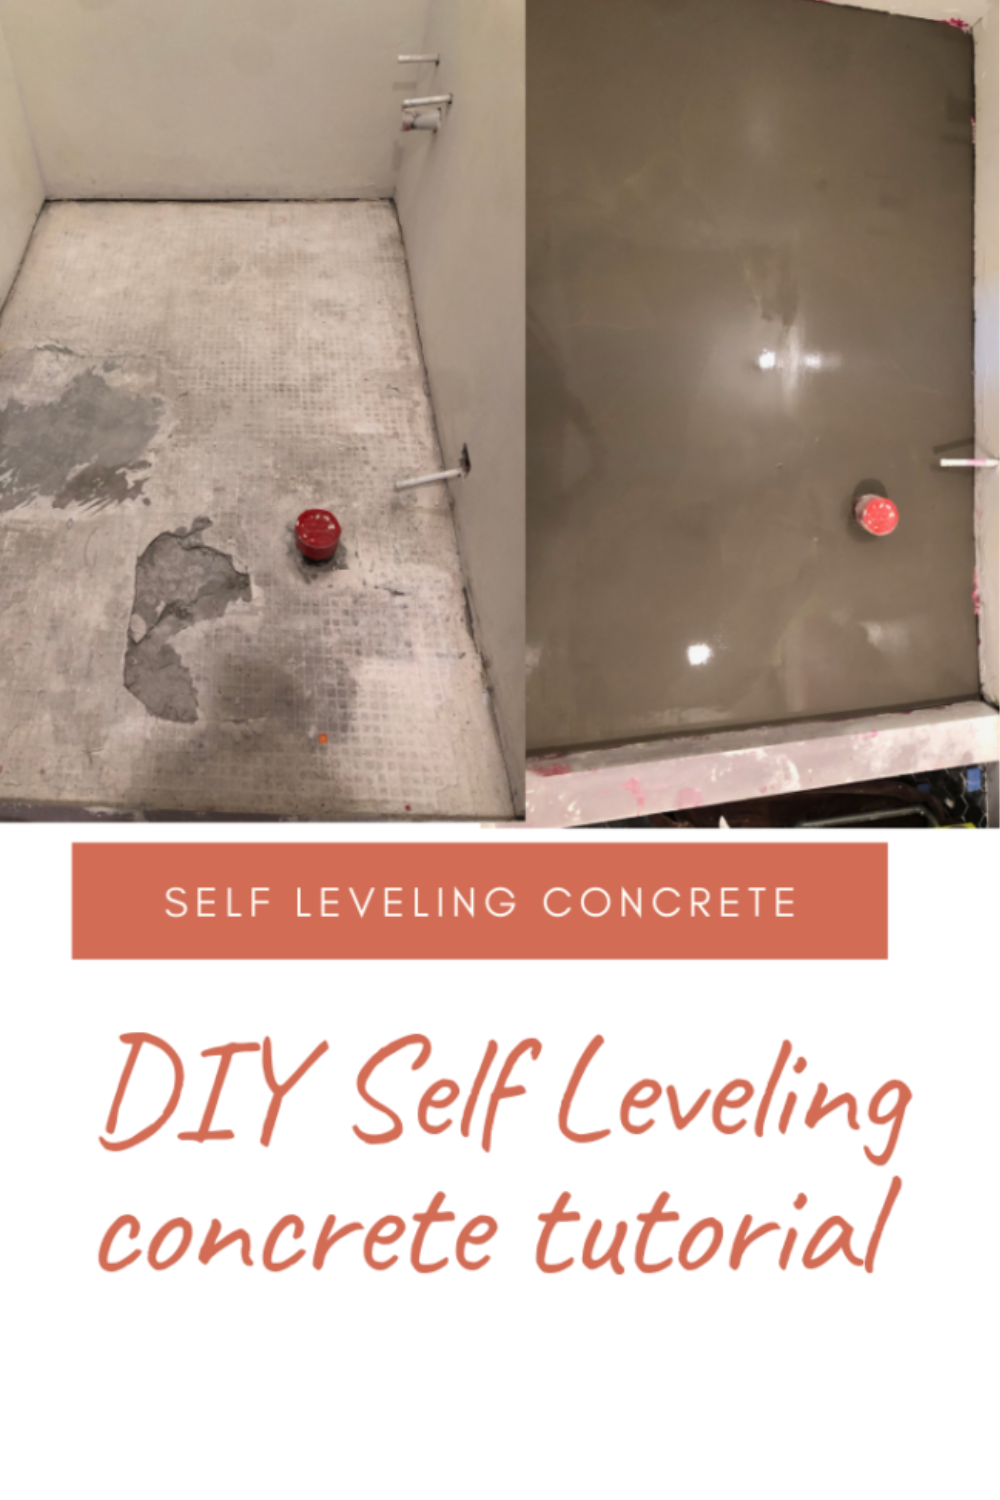
You simply add water per the instructions, mix well and pour. Sounds simple enough but making sure your space is ready to accept the mixture makes all the difference. Here are a few tips of you are contemplating doing this to your own space.
1. Remove any old tile or debris before hand.
2. Clean the area throughly with a vacuum and with wiping with a wet sponge. A clean surface will adhere the concrete best.


3. Don’t forget to prime! Sold right next to the self leveling concrete is the primer. It’s pink in color and can be easily applied with a roller or paint brush. It is very liquidity. This primer has to dry for 2-5 hours before any cement can be poured. Allow for additional dry time if you are working in a cooler space like a basement.

4. Mixing. It’s just like mixing bread, important to SLOWLY add the flour, or in this care the cement powder. First fill a 5 gallon bucket with 21 cups of cold water (who calculates things in quarts? Not this girl).

5. Next slowly pour in 1/3 of the bag and use your power drill with the mixer attachment to mix. It should be very liquidity.

6. Continue adding the cement powder slowly while mixing until all the powder is in the 5 gallon bucket. Mix for another 1-2 minutes.

7. Now its time to WORK FAST! Begin pouring your concrete mixture in the corner furthest from the exit. As you pour stop to move the cement around with your trowel. This should be a light guiding of the cement into the corners.
Above is a video demonstrating the whole FIVE minute process. It’s seriously, very easy to do.
8. Once it is applied to the entire floor allow 24 hours of dry/cure time before walking on it/applying your tile.


+ show Comments
- Hide Comments
add a comment